RPG Map Editor
Any game session that the game master creates should thrill the players, they should be immersed in the world that the master has created. Whether it is a classic fantasy adventure or a battle against corporations in a future cyberpunk world, or maybe it is an alternative reality of the Victorian era with amazing steam machines.
In any case, preparing for a game session is a very important process and creating a battle map for a particular event or encounter should be handled responsibly. But creating a map is not an easy task, there are many dungeon mapping software products available on the internet, all have their strong and weak points, and some cost cost quite a lot having very modest functionality and offering support that ended some 10 years ago.
Suppose you have chosen an editor that you think meets all the requirements you have for your map. You start drawing and everything seems fine, perhaps the interface is a bit unintuitive, but in general everything works, however it turns out that you are missing some specific objects that you need on your map, maybe some fancy ballista or a special icon to indicate a radioactive hazard or something else. Maybe the texture of the dungeon is not the one you need, and what is even worse — the texture is available, but you have to pay for it. Well, at best you`ll have to buy a monthly subscription and get "all the features" and yes, they will turn off those annoying ads that make you want to close the program all the time. Having overcome all the difficulties (the map is finished, maybe not quite the way you wanted it to be, but it is time to print it on a large sheet of paper or display it on the big screen) you may face a problem — bitmap graphics. In fact most editors simply use premade images that can be made smaller, but not enlarged without losing quality. What to do if this is the situation? Actually nothing: you may attempt to edit the map in a graphic editor or try something else, but there`s basically nothing you can do.
A familiar story? We have experienced this too, so we`ve formulated a few principles for our RPG map editor:
- Scalability
- our maps should allow increasing size without losing image quality: no smeared images, everything must be clear.
- Customization
- the user must be able to tweak the controls so that they feel comfortable using the editor.
- Icons creation
- it is important that the game master can create the missing icons and it should not be very complicated. Having mastered the editor of RPG icons in literally 40 minutes, anyone can make icons that can be used anywhere, not only in RPG maps.
- Color schemes for objects
- the map should be made using standard objects, and color schemes of these objects need to be configurable.
- User—friendly interface
- the program should be easy to learn and understand, at the same time it has to be rich in functions. We use a unified approach in our interfaces so everything is standardized.
- Different levels of skill
- with our product any user can draw a map instantly, but having studied the features of the RPG—map editoreditor or other modules of our ecosystem they can create maps on a completely different level.
- The layer system
- in regular editors, there is only one object per cell, and it is not always possible to place a bush with berries under the crown of a tree. Our editor must have a system of layers, that allows you to place various objects in the same position on the map.
- Visual clarity and simplicity
- we are not aiming to develop an editor to draw the most beautiful or believable maps. There are plenty of other products that can handle this task. Instead, we are aiming for primitivism when making maps. Create an outline of your idea, you don`t need to add a lot of detail, sketch it — players will figure it all out by themselves, each party member will have their own unique dungeon in their head. That`s how books work, that`s how our editor works.
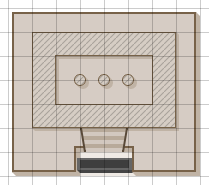
Interface Overview
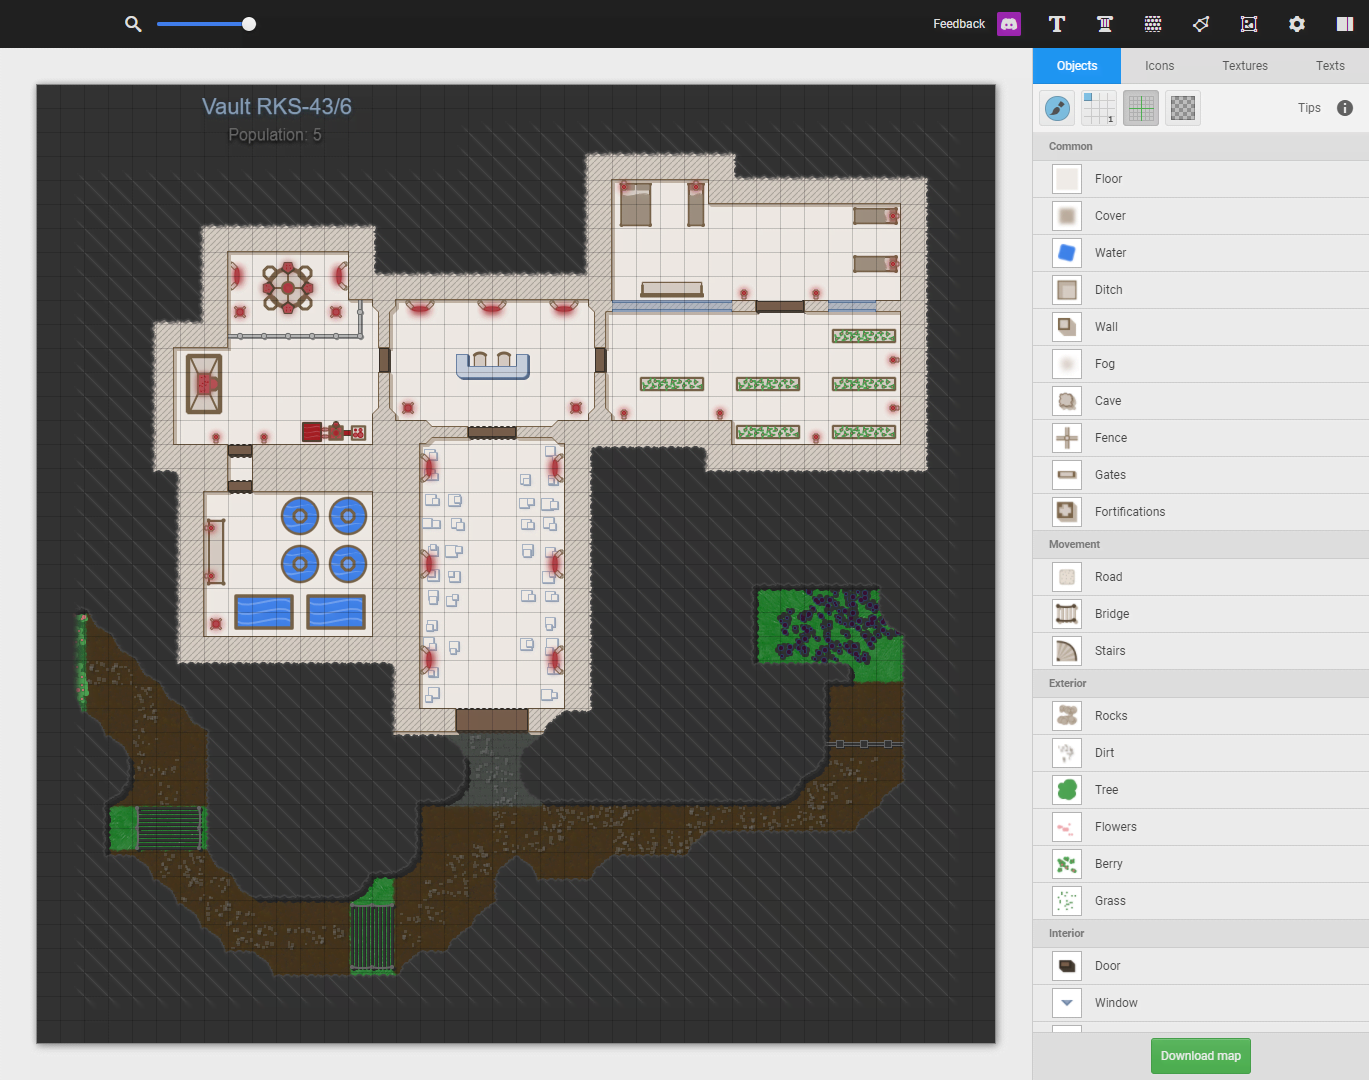
While designing the interface of the editor, we tried to make everything as simple as possible. The interface is divided into the following main sections: canvas, right panel, subprogram panel and central panel.
The main window — is the fundamental element of our program, this is where you interact with the map. In the Objects, Textures or Icons mode, you paint over the areas with a brush or a make selections using the mouse. In Text mode, the handles will appear for you control the behavior of the curve along which the text will be displayed. Also, some hotkeys require the mouse to be over the canvas. It is worth noting that the canvas has horizontal and vertical scroll bars; they appear when the map does not fit on the screen (the bars are displayed automatically), so you can use all the usual scrolling functionality with both the mouse and trackpad of the laptop.
Subprogram panel — this panel contains links to modules for creating content for maps, which can work with the Dungeon map editor, such as:
- Text Editor
- creating styles for text
- Object Editor
- creating styles for RPG dungeon map objects
- Texture Editor
- create your own textures or upload existing textures to the server
- Transitions Editor
- a system for creating transition patterns from one texture to another
- Icons Editor
- a program for creating RPG icons
- Application Settings
- link to the map editor settings section in the RPGInferno settings app
- Hide right panel button
- sometimes you need to temporarily hide the right panel
The central panel — a multifunctional panel located above the canvas, it can contain various controls:

- Zoom Slider
- this function allows you to shrink the map to look at the whole result.
- Link to our Discord server
- in case you want to chat and discuss our map editor.
The right panel — is the heart of the editor, where all the functions of the editor are located. The panel is divided into 5 main sections:
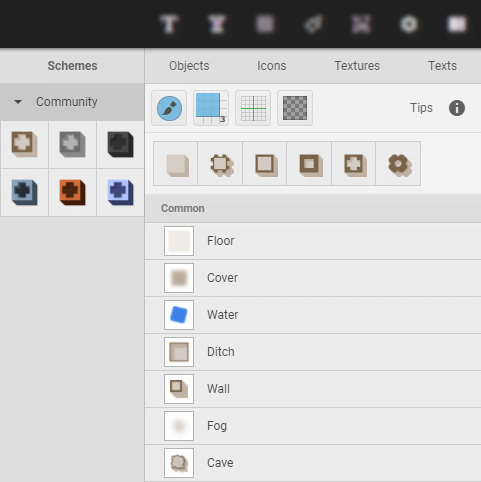
- Tabs
- types of assets that can be used on the map: Objects, Textures, Icons and Text. Each of the sections may have its own specific functionality.
- Toolbar
- this panel contains the main controls related to brushes or other parameters for adjusting objects on the map. Depending on the section, the content of this panel may vary, but there is a set of elements that are always available (with the exception of Text mode):
-
- Multifunctional Brush
- this button switches the modes between Paint and Eraser.
- Brush size
- in this drop-down list you can choose one of the brush sizes or select a framing tool to fill rectangular areas. It is worth noting that, depending on the grid on which the objects are placed, the brush size may vary.
- Grid settings
- the grid is useful when editing your RPG map, but every now and then you need to look at the map without the grid to see how it will look in its final state.
- Grid Color
- a special utility for choosing the color of the grid that is overlaid above the map, in case you have drawn Neo-Tokyo and you absolutely need a purple grid over the map. Or maybe it should be semi-transparent as well?
- Tips
- if the editor has any tips about non-obvious matters, a brief help will be displayed when hovering over this icon, for example, about hotkeys.
- Other elements
- elements that will appear as part of specific sections. They will be described in the relevant sections of this manual.
- Variations panel
- a special horizontal area where variations of objects or transitions for textures appear. The point is that this type of modifier toggles the object rendering mode specifically and does not relate to the color design of objects, so this panel is a stand-alone one.
- Main content panel
- under the Variations panel there is the main content of the selected section: the list of objects, the used textures, the list of icons and the added text.
- Additional right panel
- this control panel appears when you need to select the color scheme of the selected element, whether it is the color scheme of the object/icon, a text pattern or a texture.
Now, as the main functional areas of the Dungeon Editor are covered, it is worth describing each of the four sections in more detail.
Editing objects
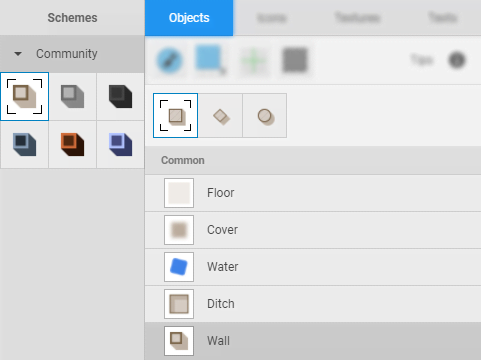
To enter this mode, click on the "Objects" tab. By objects we mean specific rules for drawing graphics, by which we can create a primitive version of the entities you want to place on the map. A list of objects and layers will be given closer to the end of this article.
In Objects mode, the Main data panel contains the categories by which the entities are grouped and the entities themselves. If you have suggestions on creating new objects, feel free to contact us in Discord.
Clicking on an object displays the variations panel, if the object has any. The additional panel with the object`s colour schemes created by the community, by you, or by other authors, also appears.
Editing icons
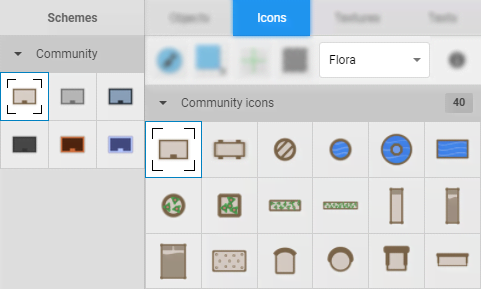
To enter this mode, click on the "Icons" tab. Icons are created in a specialised RPG icon editor. Icons can occupy up to three cells, this is done in order to be able to create a large table or fountain.
When icon mode is activated, the additional layer selector appears on the toolbar, to which the icon will belong. This is required to allow the editor to define the behavior of an icon on the map, for example: an icon that adds stones to the ground, an icon that adds flowers on top of the stones you have just applied. Or perhaps you want to create a large table and put the dishes on it separately. All this is possible thanks to the four available layers: earth, flora, interior and exterior.
The main content panel is filled with a list of icons, which are divided into categories: community icons, your icons and the icons you are subscribed to. Each of the categories can be hidden, and some can be hidden altogether using the settings section, and it is also possible to configure which sections are displayed by default. More information can be found on the settings application page.
When you select an icon, an additional panel will open with colour presets for that particular icon. The presets are grouped in the same way as the icons. Keep in mind that you can add your own icon colour schemes which will only be visible to you, in case the icon does not belong to you.
Editing texture
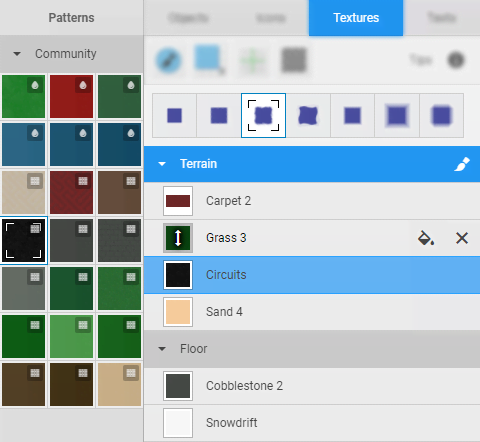
To enter this mode, click on the "Textures" tab. Textures are created using the RPG texture maker application. A variety of solutions have been developed to work with textures, allowing for very interesting and beautiful results. Some editors may create a funny problem with the positioning of the water textures, when the water "flows" over the surface and not the surface goes under the water; we are not comfortable with that kind of thing.
In texture mode, the variations panel will list your transitions, one of which is always active. Transitions are edited using the texture transitions application.
Once you have selected a transition, you need to select the layer on which you will be drawing, the layers are in the main content panel. When the layer is activated, the header is highlighted by colour and a brush appears in the right-hand corner. It is worth noting that within a layer the textures are unique, you cannot draw two identical patches of grass: in this case all identical textures will be merged into one entry.
Within a single layer, textures can be rearranged, so you can set up texture layering on top of each other. Remember that water is always positioned underneath land, so our map editor will not allow mixing the land and water in arbitrary combinations.
You can transfer existing textures between layers; when the texture is placed on a new layer, if such a texture already exists, the textures will be merged, so please be aware of this.
If you hover over a texture in the list of layers, the texture will be highlighted on the main canvas so you will know which areas of your map are covered by the texture on the selected layer.
If you click on a texture in the list of layers, you will be automatically painting with the texture in the layer where it is present.
If you hover over a texture in the layer list, you will see additional texture controls:
- Fill
- by double-clicking this button, you will fill the chosen texture with the one selected in the texture palette.
- Delete
- double-click this button to delete the texture from the specified layer.
After selecting a layer, an additional panel will show the palette of available textures, which are grouped in a standard way — community/subscription/your own. Also, each texture has an icon that indicates it belongs to one of the texture types: water, dry land and air. You can read about the position of the layers in relation to icons and map objects later in this article.
Text editing
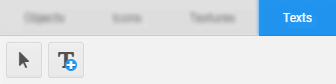
To enter this mode, click on the "Text" tab. This application is based on a special subsystem for managing curves and text, and therefore this section has its own controls and they are not the same as in the three previous sections.
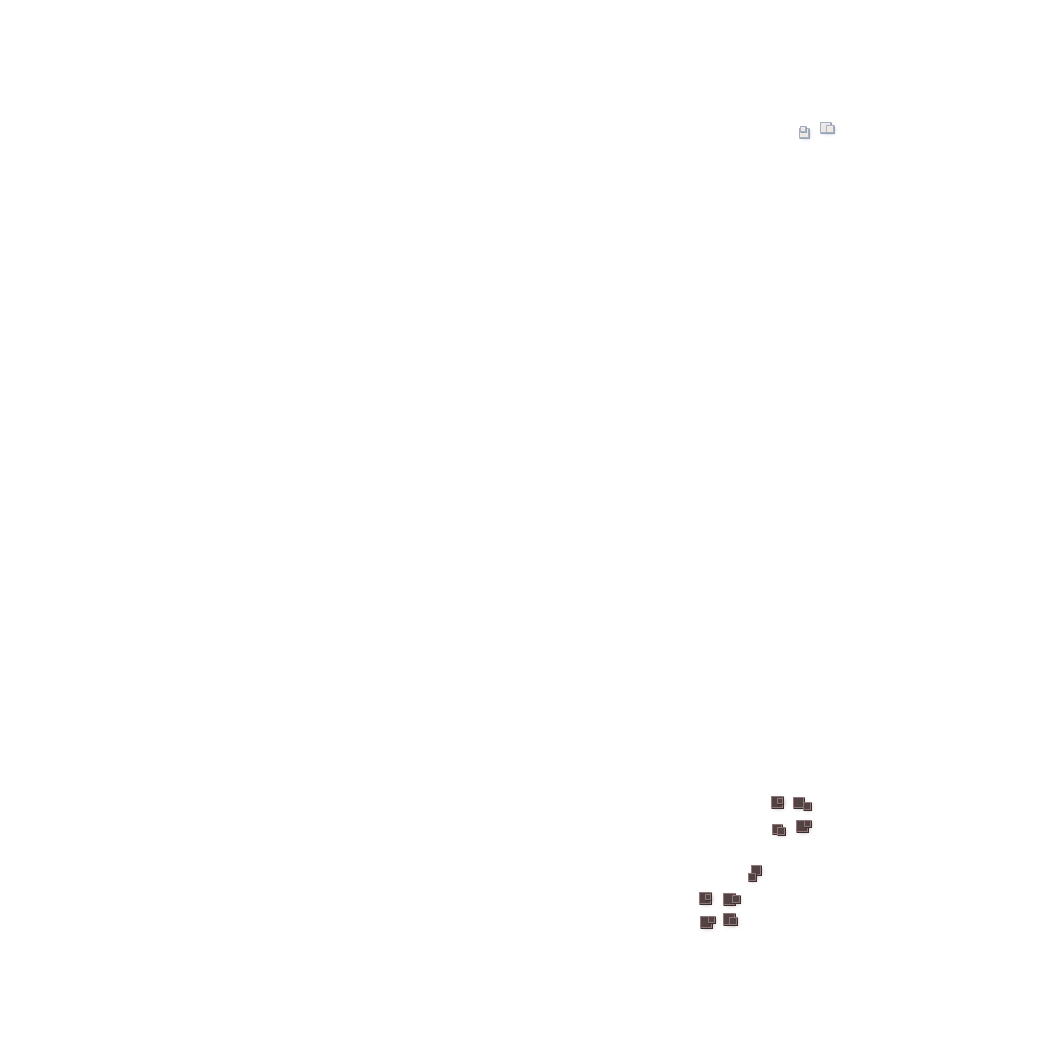
The first thing you`ll notice is that when you enter this mode, only two buttons remain in the toolbar: Select text and Add text.
- Select text
- mode needed to control the text manipulators. This will be covered further below.
- Add Text
- when you click on this button, you should move the mouse cursor to the canvas, where you will see a template "text", which will be added to the map, when you click the left mouse button. Having added, you will immediately enter edit mode for the selected text.
In text editing mode, "direct selection" function will automatically be enabled, but you can always click on "add text" to add new text. You will also notice new controls appear in the toolbar:
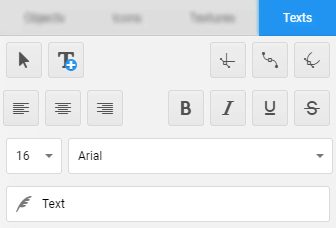
- Curve type change
- represented by 3 buttons allowing to choose the line for the curve to be drawn along: straight line, quadratic curve, cubic curve
- Text alignment
- ith the help of 3 buttons you may choose the text alignment type: left, center, right. Please remember that once you flip the curve the text will also flip.
- Text formatting
- there are 4 text modifiers available: bold, italic, underlined,
strike throughAll 4 modifiers may be applied simultaneously.
- Font size
- selecting the size from the font size list. If a new size is required please write to us in Discord and we will consider your proposal.
- Font style
- the list of fonts which may be applied to the text. Additional styles are added upon a user’s request through Discord.
- Text editing field
- by entering a text into this field you change the text both on the canvas and in the database, no clicking on additional Save buttons is required.
Please remember that when you press any of the buttons described above, the changes take effect instantly; unfortunately no "undo" function has been implemented at the moment, be careful.
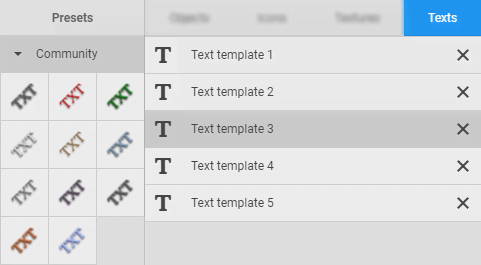
In the main content area there is a list of all the text labels that are on the map. In edit mode a specific text is highlighted by colour in the list. To exit edit mode, click on the highlighted entry.
If you double-click on the cross, you will delete the text entry irrevocably.
When editing mode is activated for a particular text entry, a list of all available colour schemes is shown in the additional panel, divided into groups, and the current scheme that applies to the text is also marked.
When editing text, there is a special frame around the text on the main map canvas; using this control you can move the text around the canvas, just click on the frame and drag it: when you release the mouse, the new text position will be saved.
The text has a visible line along which it is drawn.
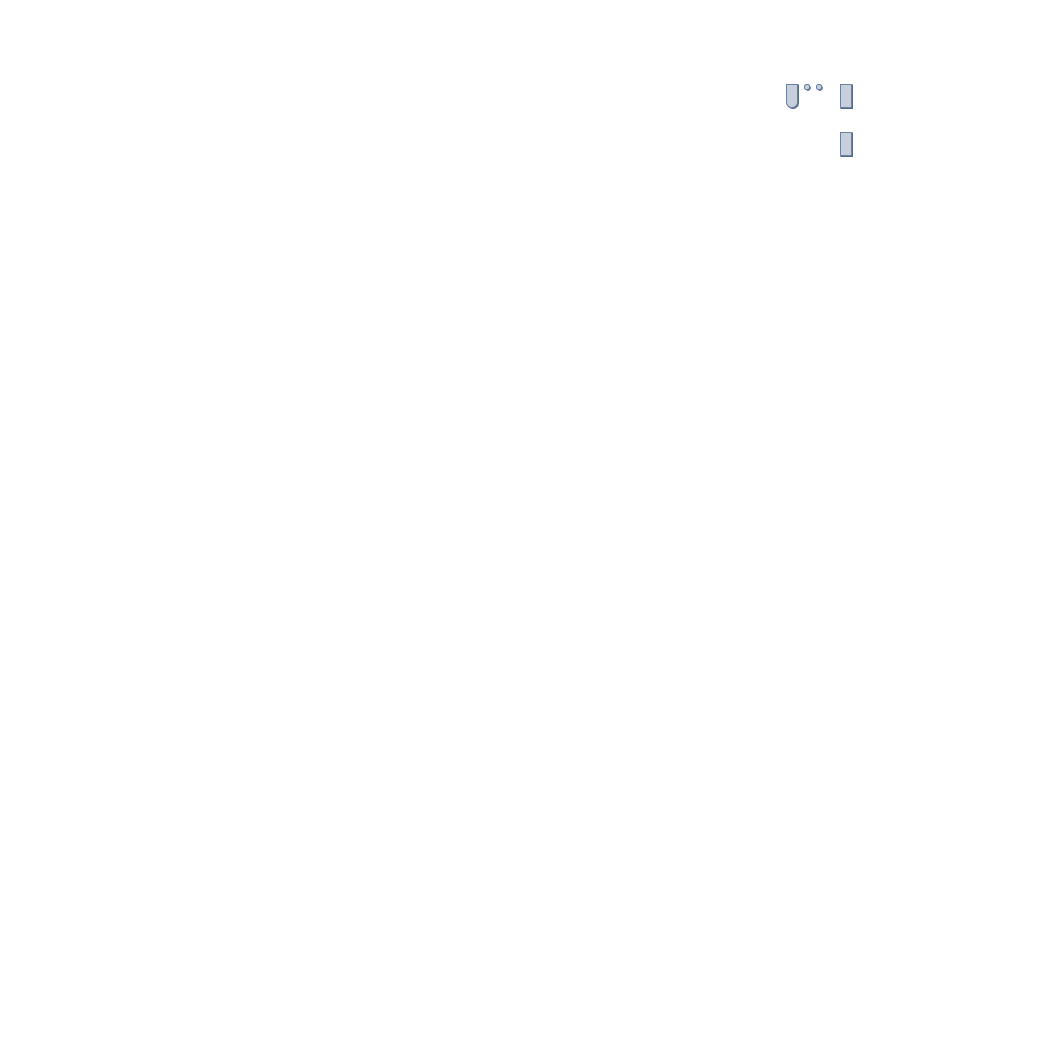
A curve has two types of controls:
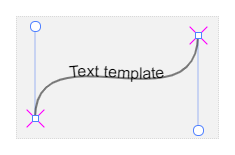
- Point
- looks like a square, if a square has diagonal lines it means the point is either the start or the end of the curve. To change the position of the points, just click and drag the manipulator.
- Curvature handles
- looks like a square, if a square has diagonal lines it means the point is either the start or the end of the curve. To change the position of the points, just click and drag the manipulator.
It is worth noting that for convenience we designed a reference line tool which creates a special sticking effect along horizontal and diagonal lines if the controls occupy similar coordinates horizontally or vertically.
This concludes the description of the basic controls of the Dungeon Editor. Next you will learn about the specifics of our layer system and there will be a detailed breakdown of the available objects that you can use when creating an RPG map.
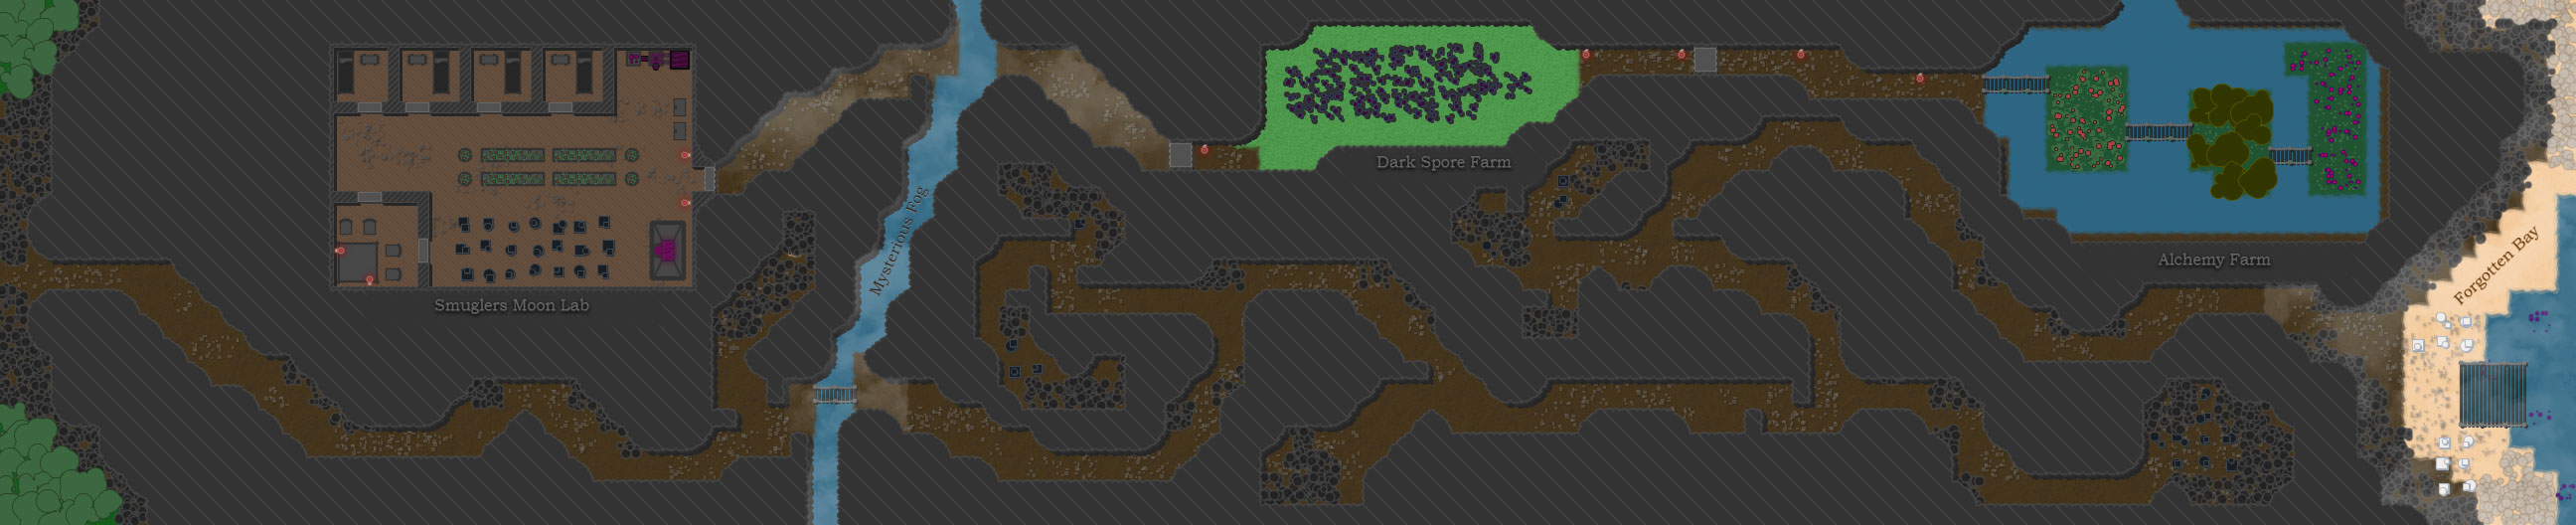
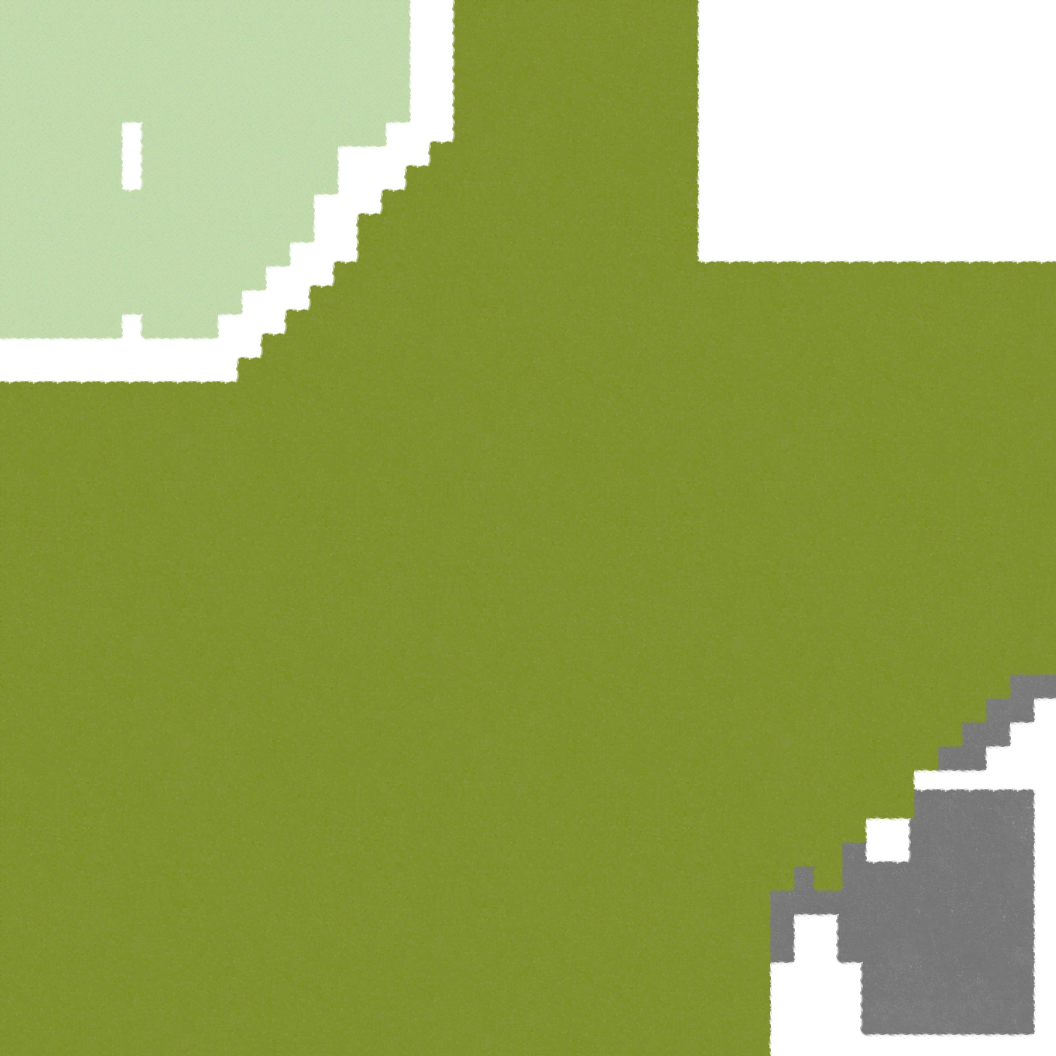
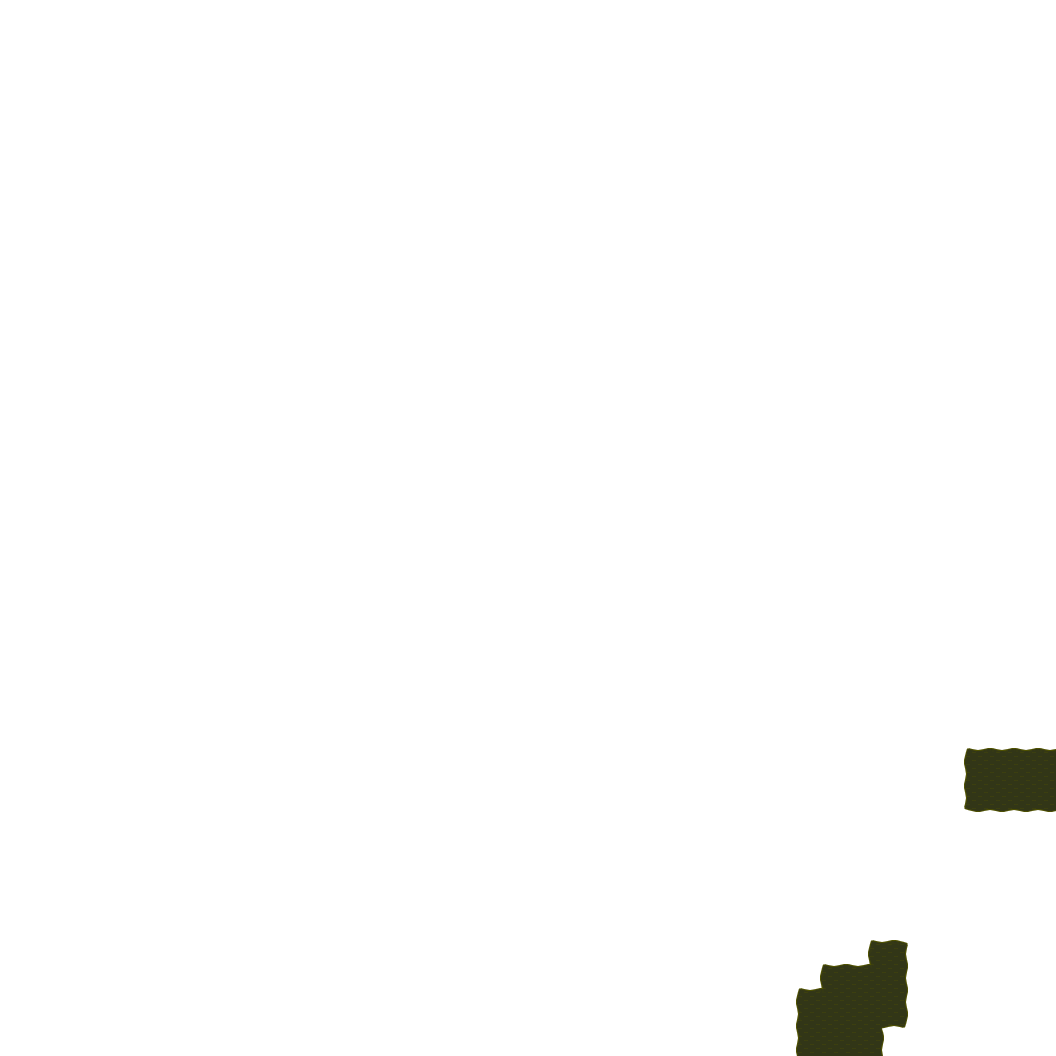
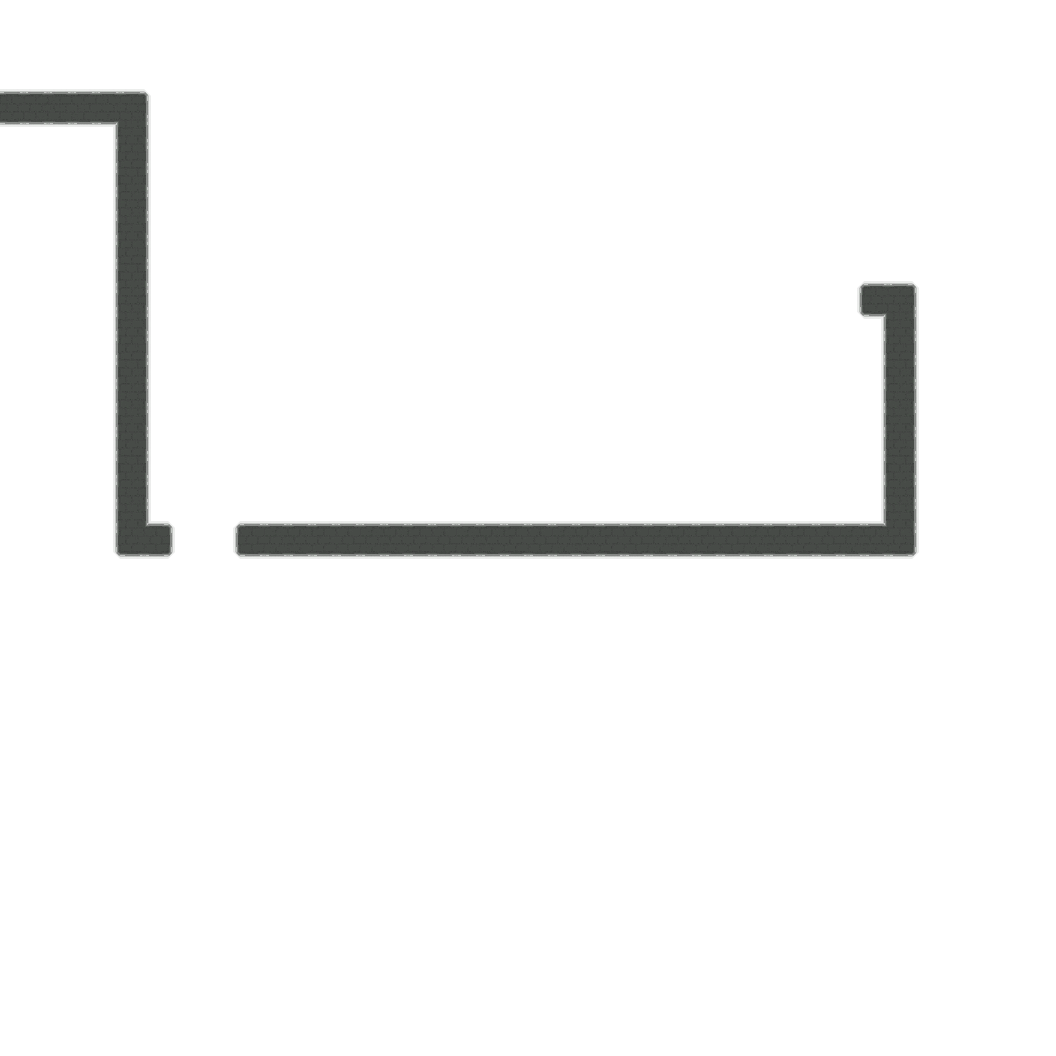
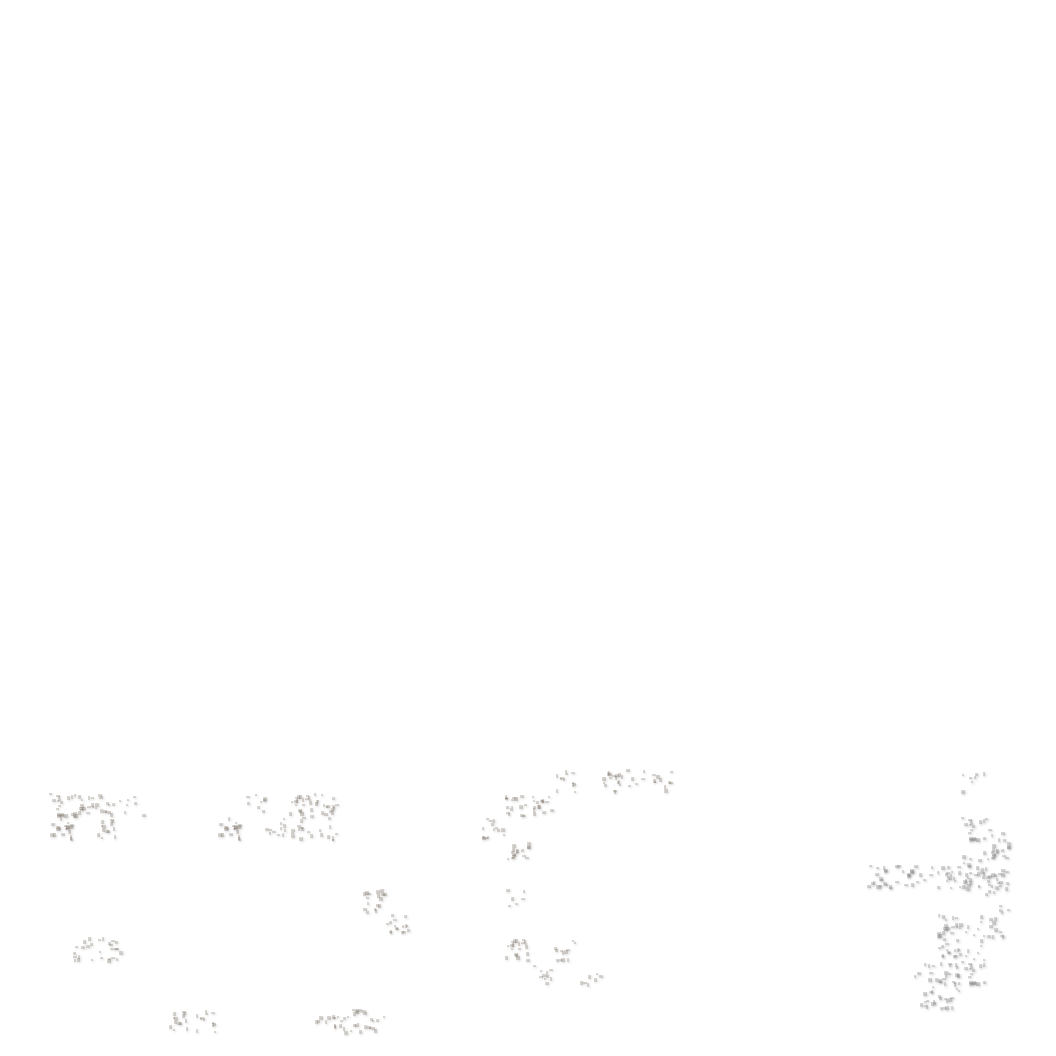
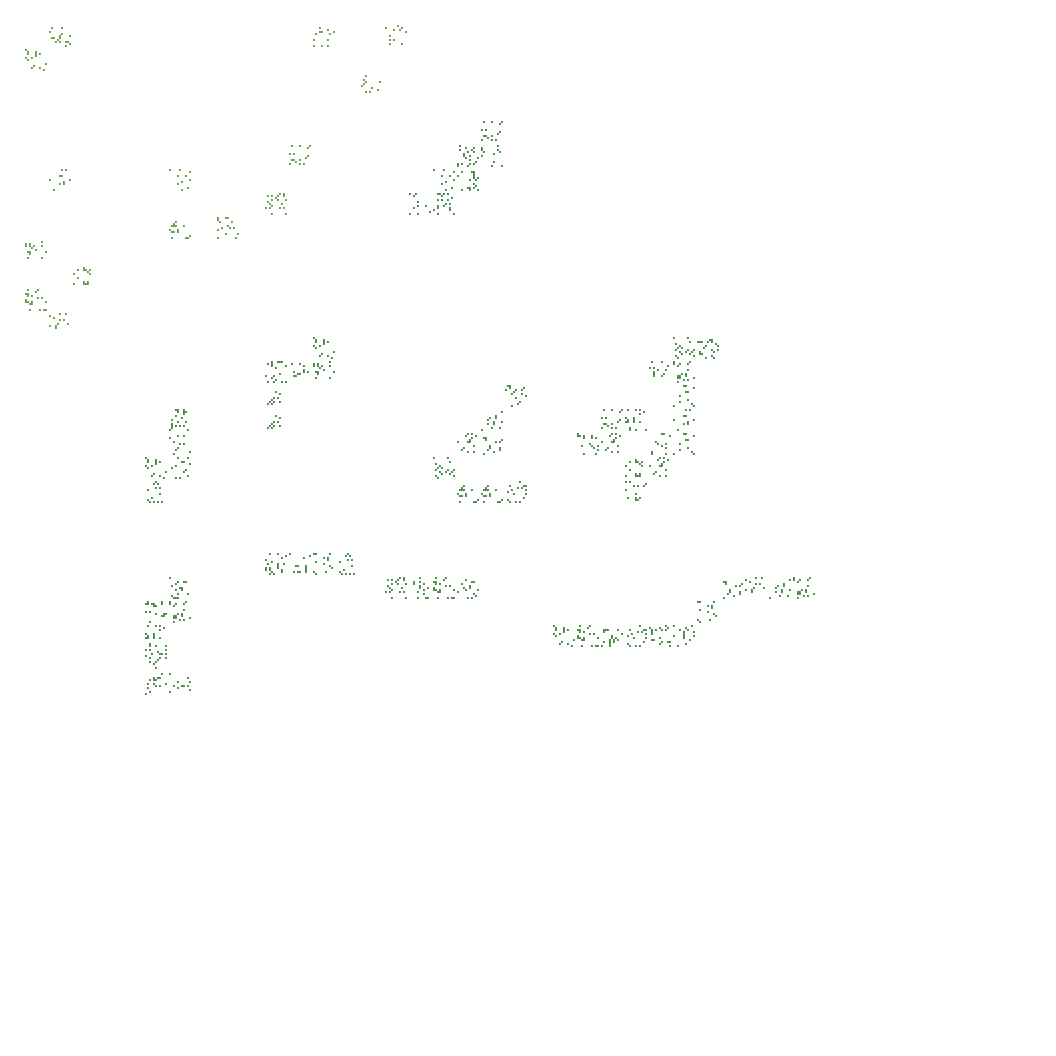
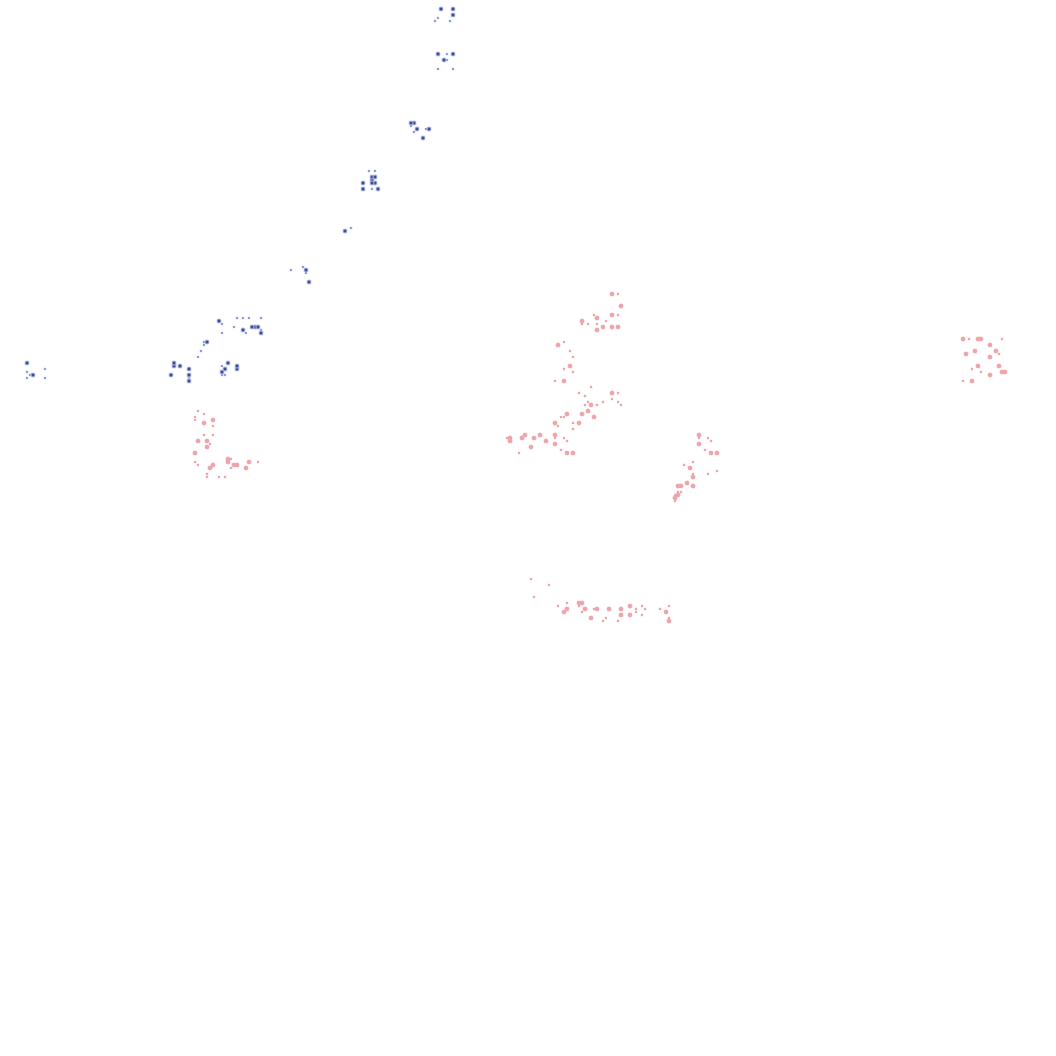
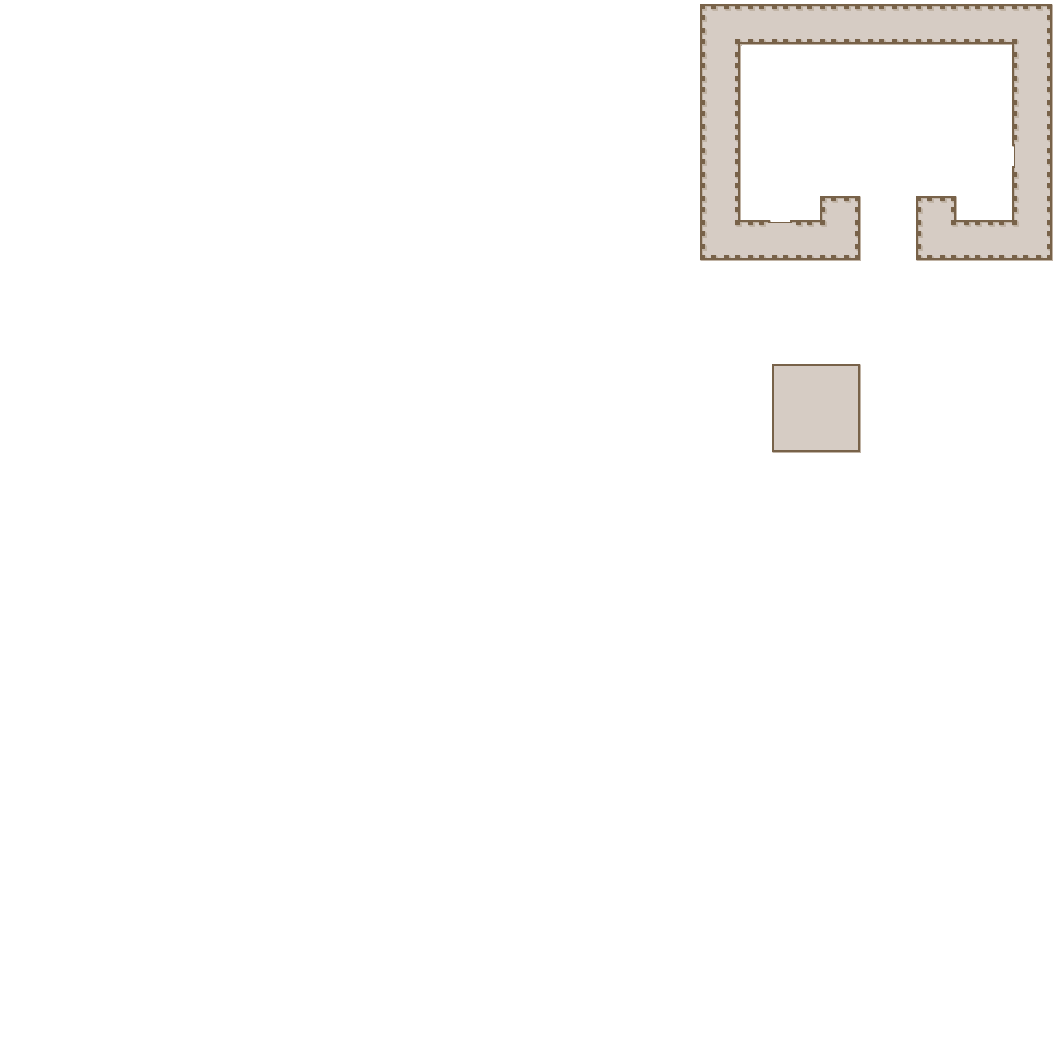
The layer system
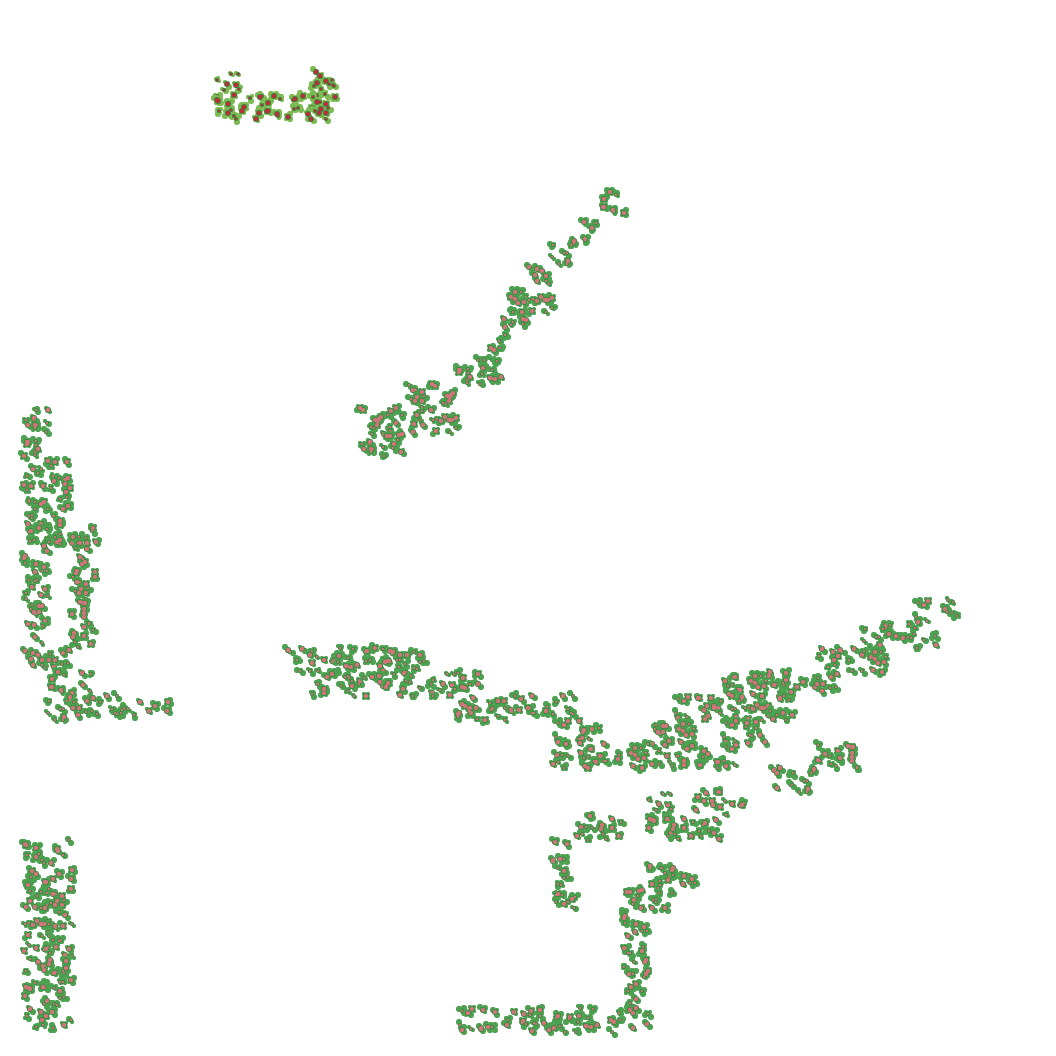
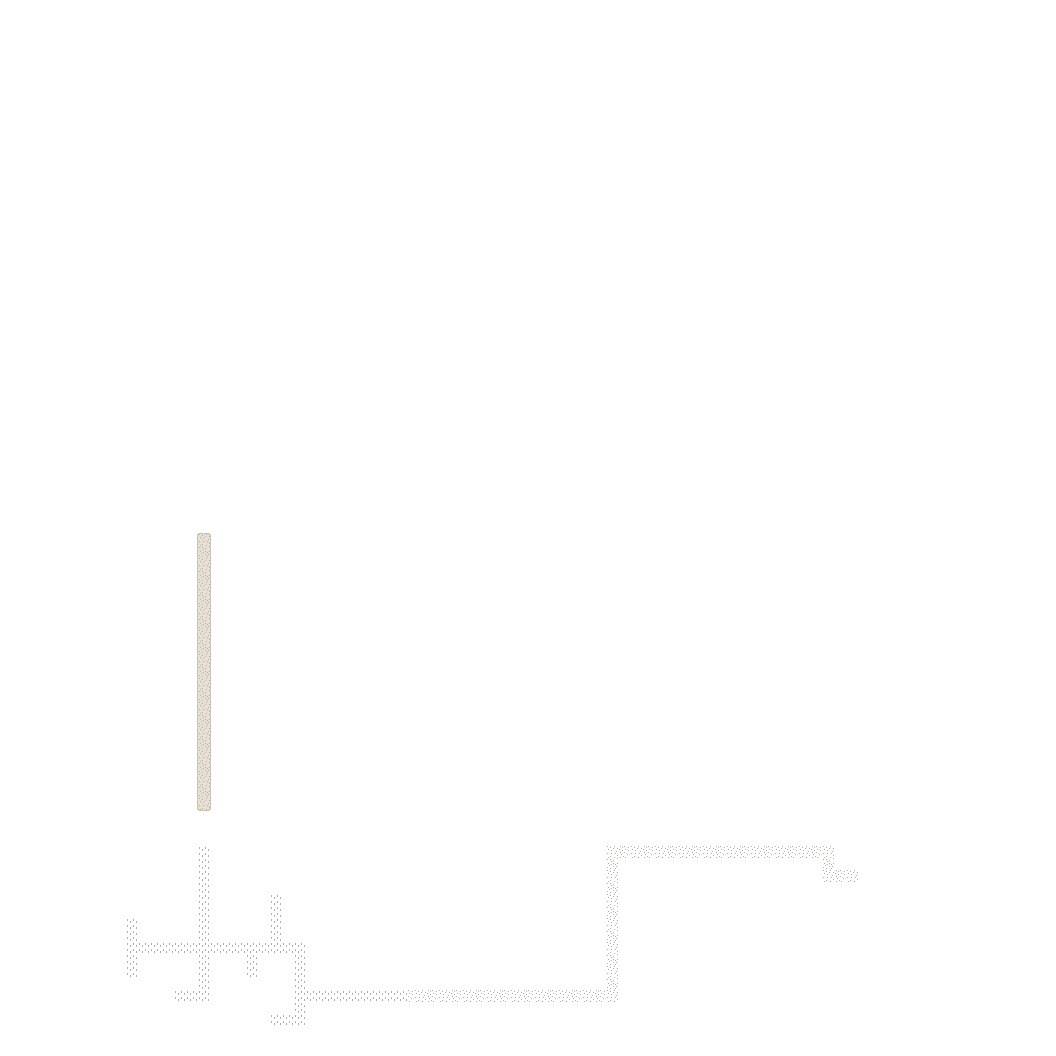
Our RPG map editor has an advanced layer system. It may seem excessive, but we believe it allows to achieve fascinating results. To explain the mechanics of the layers we have decided to demonstrate how our approach to layers works. Below there is an interactive map where you can switch the layers on and off, so that you get a good idea of how the layers are organised. It is worth noting that the higher the layer is in the list, the higher it is on the map.


Objects editing
The last point that needs to be covered is the object list for our map editor. Currently our editor has 23 objects and 66 variations of object appearances. All of these are divided into 4 categories: general, movement, exterior and interior.
The editor uses a special system with two types of coordinate grids. The fact is that in most editors based on squares, there is only one wall size and if you need the wall to be a little thinner, you are out of luck. We have taken a different approach — we have a compacted grid, where there are 4x4 squares of a small grid per 1 square of a regular grid. With this system, you can adjust the thickness of walls and windows according to your needs.
Now, knowing that the objects have variations and can be drawn on grids of different sizes, we can proceed to the full list of objects.
List of objects
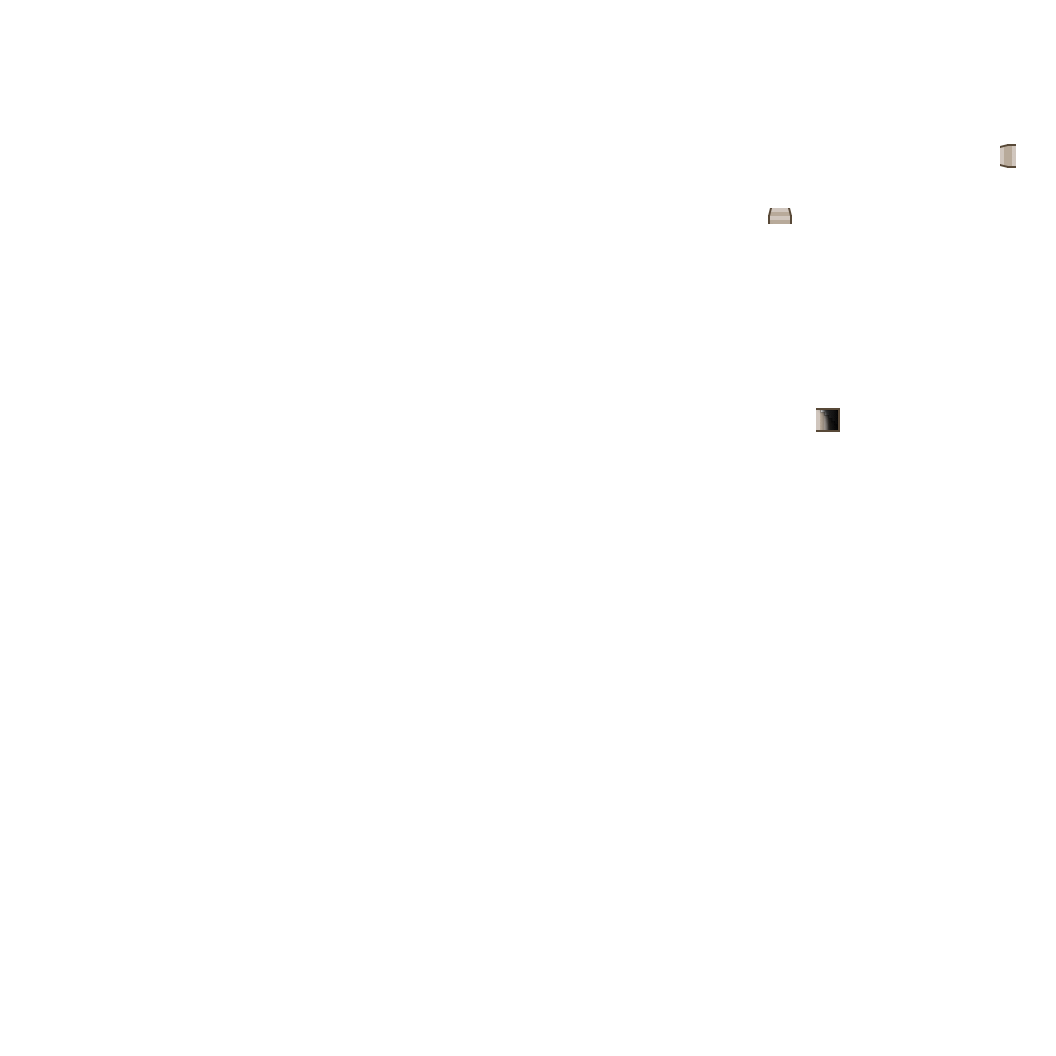
-

- Floor
- is a regular square painted in a single colour, in a general sence it`s just ground. This implies that the entire map or all visible parts of the floor must be filled either by this object or by a texture on the corresponding map layer.
-

- Cover
- in simple terms, it`s a carpet/tile/pavement, in general, any additional surface on top of the floor, such as a small bed of berries. It is worth noting that this object connects only with neighbours that have an identical colour scheme, i.e. 2 surfaces with different colours will not be connected.
-

- Water
- a simplified representation of water; water does not have diagonal flow, so it only moves in the horizontal and vertical axes. Water connects to neighbouring objects regardless of colour, so the mixing of two liquids will have a clear boundary.
-

- Ditch
- for any prison you always need a pit to throw the prisoners into. We have tried to visually deepen this object, and you can always tell us if it`s worked via Discord. As with water, the pits are connected to their neighbours regardless of the colour scheme.
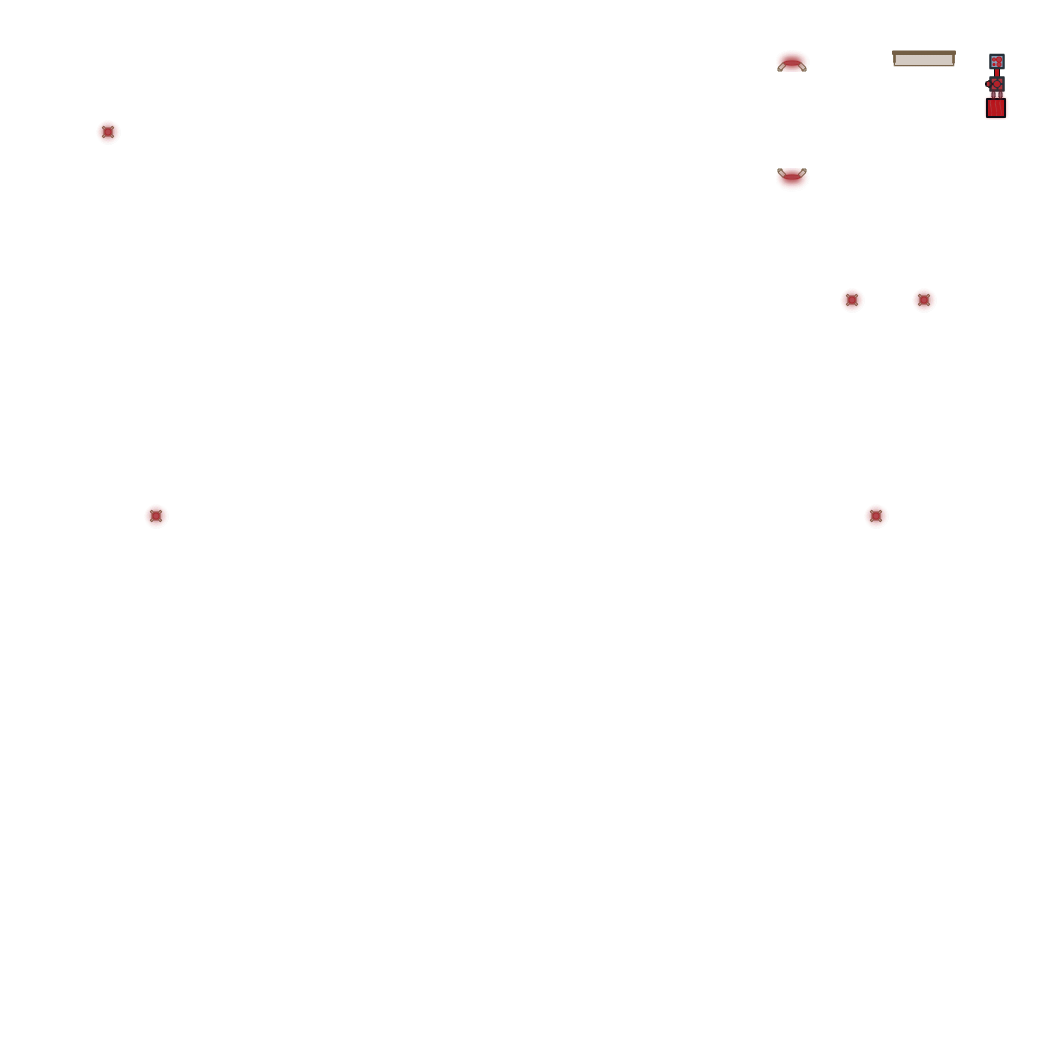
-
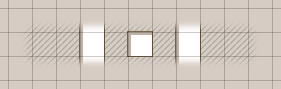
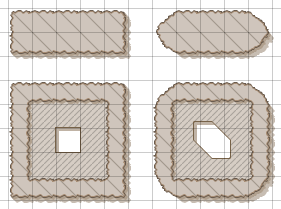
- Wall
- is the first object to use a compacted grid. When you select a wall, the brush size is reduced by four and the maximum brush size becomes 2x2 normal squares. We recommend using a frame to fill large areas with the wall.
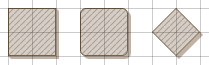
Wall has three variations with which you can paint: a square wall, a diagonal wall and a rounded wall.
-
- A square wall
- does not have any features, it is just a square.
-
- The diagonal wall
- allows you to build diagonal walls of any length. This is a very useful technique, given the fact that our editor is not capable of constructing circular walls.
-
- Rounded wall
- is the equivalent of a square wall, but with rounded corners. It is a useful tool when you need to build columns in a palace. A proper circle is made by using 1x1 and 2x2 brush sizes, otherwise you just get rounded corners of the wall.
It is worth noting that when using walls, you may mix all 3 variations in any combinations you can think of. Like the pit, the walls are connected to each other regardless of the chosen colour scheme.
-
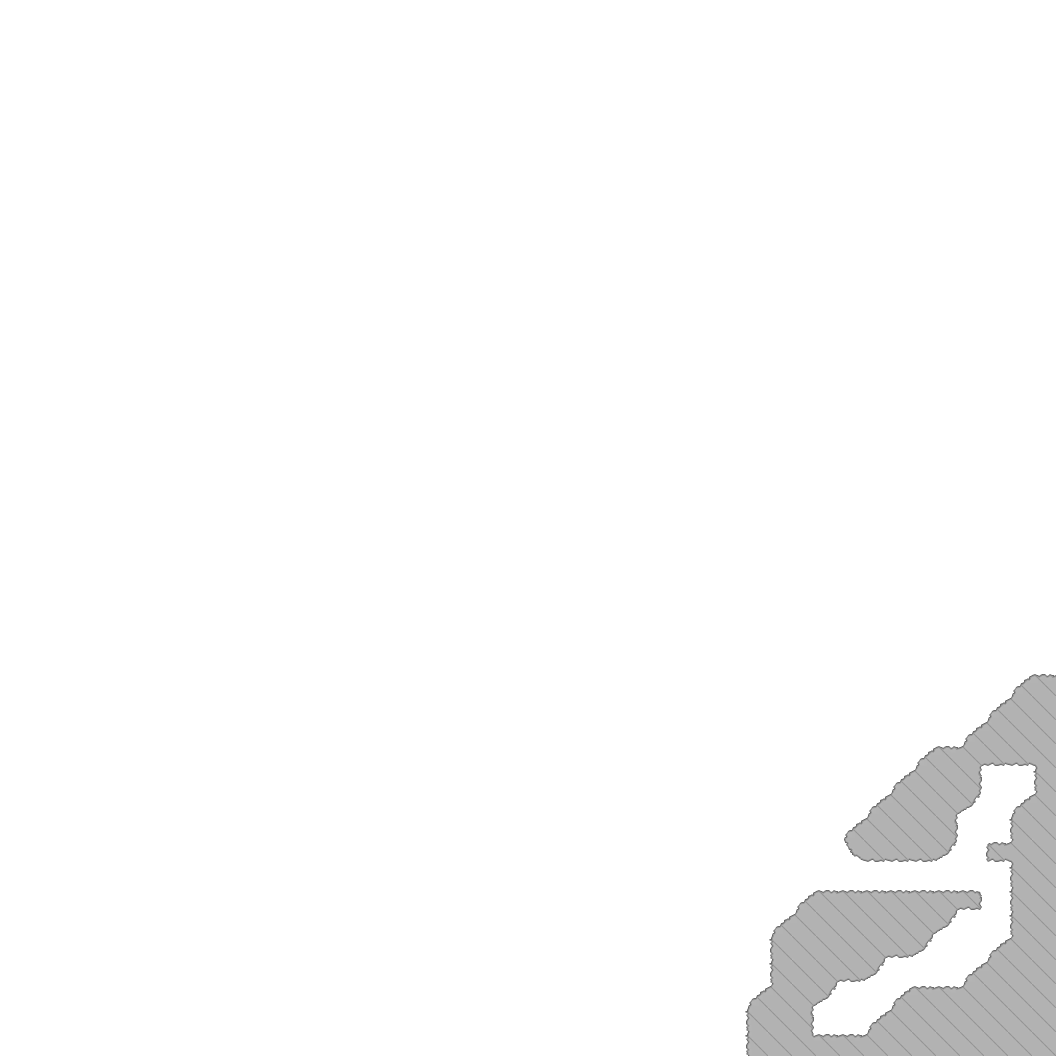
- Fog
- a classic fog of war, this type of material lies on one of the higher layers and allows you to hide various objects. If certain areas of your map are of no interest, you can cover them with fog instead of flooding them with a wall or rock. This will save computer resources when rendering as well as traffic when loading map data. Fog is combined regardless of colour schemes, so transitions from one colour to another are pretty sharp.
-
- Cave
- пещера или просто скальная порода. Это достаточно интересный объект, потому что он отрисовывается сразу на нескольких слоях, что позволяет достичь эффекта «высоты».
Cave has two variations: Square cave and Diagonal cave.
-
- Square cave
- works in a similar way to Square wall, with the exception that the cave has a jagged outline to create a rock-like effect.
-
- Diagonal cave
- allows you to create diagonal cavities and mountains; of course it doesn`t look very diagonal, but what have you expected — they are rocks after all.
The particular point to note here is that objects like Wall and Fortifications are inserted into the centre of the cave — the cave consists of two parts: the rock and the top of the cave. This is done so, because we consider the cave/mountain to be the highest object on the map, higher than walls or fortification walls and, to create this effect, the top of the cave is always higher than walls and fortifications, while the rock is lower. It is worth noting that this rule also applies to windows, doors, gates, etc.
A cave, unlike a wall, is rendered in large squares and joined together regardless of the colour scheme.
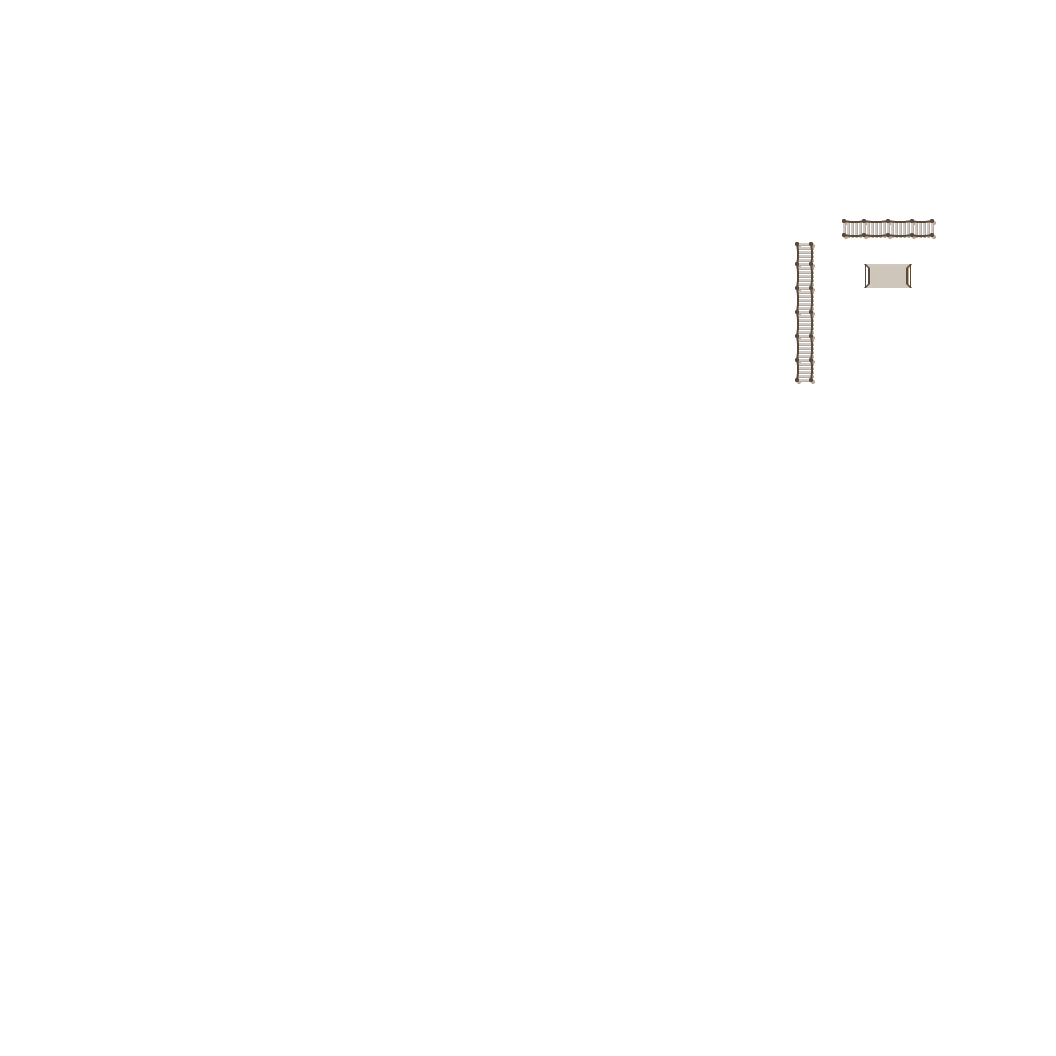
-
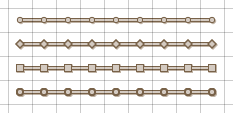
- Fence
- is a regular fence. It can be used to enclose yards, pastures, and may even become a barbed-wire or laser fence. That is for you to decide!
Fence has 4 variations, the only difference is the design of the posts: round, diamond-shaped, square и reinforced posts. There is no need to explain the column variations in detail. There is only one peculiarity about the variations — the fence is connected only within one variation but it does not depend on the colour scheme. Please take this point into account.
-
- Gates
- please do not confuse gates and doors. Gates are designed to work in conjunction with fortifications, which will be covered below. Gates are heavy fortification barriers. They are the first object that exceeds a single cell boundary, so that the gate could be inserted into the center of a fortification to emphasise the fact that the fortification is always higher than the gate.
Gates have a special connection method: they are joined along a horizontal axis which you can rotate by pressing the "R" shortcut key. If you try to join differently rotated gates, graphical collisions may occur. Try to make sure that the gate with its "thick" frames is installed under the fortification, then everything will look tidy.
-
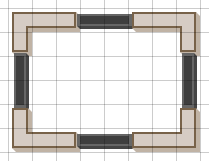
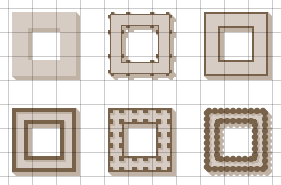
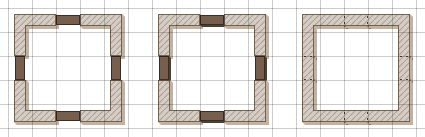
- Fortifications
- we mentioned fortification previously when we described gates. In a general sense this object is needed to build castles and fortifications. It has a number of features:
- A gate cuts into the centre of a fortificationto show that the gate is slightly lower and the fortification towers are always higher.
- A fortification lies below walls and this is a very important point. You can use this object to build an impregnable wall or you can build a wall and make an area inside it where you may build towers using walls or create spiral walls. Or maybe you want to place shooting towers all around the perimeter of a wall? It is worth noting that to paint the floor inside such "towers" you will need to use colour schemes of a fortification, as floors and surfaces lie below forts, but this is not a big problem, given that a wall is drawn on a compacted grid — you can always "fit" the wall exactly as needed.
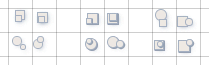
Fortifications have six variations:
-
- Elevation
- this basic object may be useful when you just need to emphasize the fact that the building stands on a high foundation;
-
- Elevation with poles
- may be useful for designing berths for heavy ships, or places where people can descend from a wall fortification;
-
- Elevations with edge
- sometimes you need some sort of transition from a heavy fort wall to a wall without a high barrier, this is the case;
-
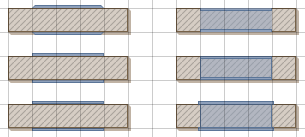
- Heavy wall
- this wall has a high monolithic elevation along its entire length, behind which warriors can hide during sieges of the castle;
-
- Heavy wall with firing ports
- this fortification has gaps in the wall from which your archers or snipers can fight off hordes of enemy troops;
-
- Palisade
- is an attempt to make a fantasy wooden fortification, or perhaps a stone one. You can write to us on Discord to let us know how good it is.
Fortifications connect to the neighbouring cells regardless of the variation or colour scheme, we`ve tried to make the transitions as tidy as possible.
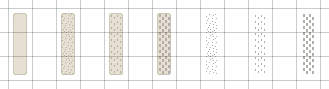
-
- Road
- using this object you can lay smooth roads, tiles or paths of different kinds. Roads have 7 variations, which can be divided into 2 categories: with and without a base. The only difference is that the ones without a base have no roadbed, just decorations made of dots or tiles of different sizes. This kind of road is perfect for paving a path to a secret cave. Roads are linked together regardless of variations or colour schemes, and it is worth noting that you can rotate the road sections using the "R" hotkey.
-
- Bridge
- bridges are designed to cross over obstacles. It is interesting to note that you can build a fort, add towers made of walls to the fort walls and string a rope bridge between the towers, as the bridge lies above the fort walls and the gates. There are only 5 variations of bridges:
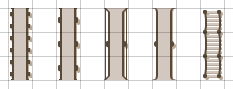
-
- Double pier bridge
- is the heaviest bridge and spans long distances.
-
- Single pier bridge
- is a bridge for short distances, over narrow ravines, perhaps.
-
- Handrail bridge
- is an elegant bridge for crossing rivers within a town.
-
- Light bridge
- is a small bridge for crossing urban canals.
-
- Rope Bridge
- is a classic bridge for crossing small rivers in fantasy villages.
Our bridges connect to each other within the same variation and it`s important that the bridges are aligned or they won`t connect. Use the hotkey "R" to rotate the bridges, the colour schemes have no effect on the connection.
-
- Stairs
- are the largest objects in terms of number of variations; there is no point in describing each variation, but it is worth describing the categories into which variations can be divided:

-
- Stairs from top to bottom
- these are stairs that come from beyond the top of the screen, there are only a few variations. These stairs turn smoothly into conventional steps.
-
- Steps
- are a class of stairs that do not go up or down in an obvious way. Basically it is possible to make conveyor belts with these steps.
-
- Downward stairs
- these variations change from conventional steps and shrink towards the end, imitating a downward effect.
-
- Swivel steps
- there are only 3 variations, use the hotkey "R" to rotate them however you want.
-
- Shaded stairs
- are a special class of stairs that have a shadow at the end, to imitate the descent into the basement or wherever.
-
- Half staircases
- are meant for crossing from a wall to the ground or in any situation where a full-size staircase is too big and unsightly.
There are so many variations because we do not know which stairs are the best and which style is preferable. Therefore we have thought of and implemented all the options we could. It is up to you which one you will use. If you come up with another stair style, please let us know on Discord.
Stairs only connect in the longitudinal axis, so they may need to be rotated. Please keep in mind that some stairs can`t be connected to larger stairs — these are rotatable stairs of five types. The colour schemes have no effect on the connection.
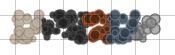
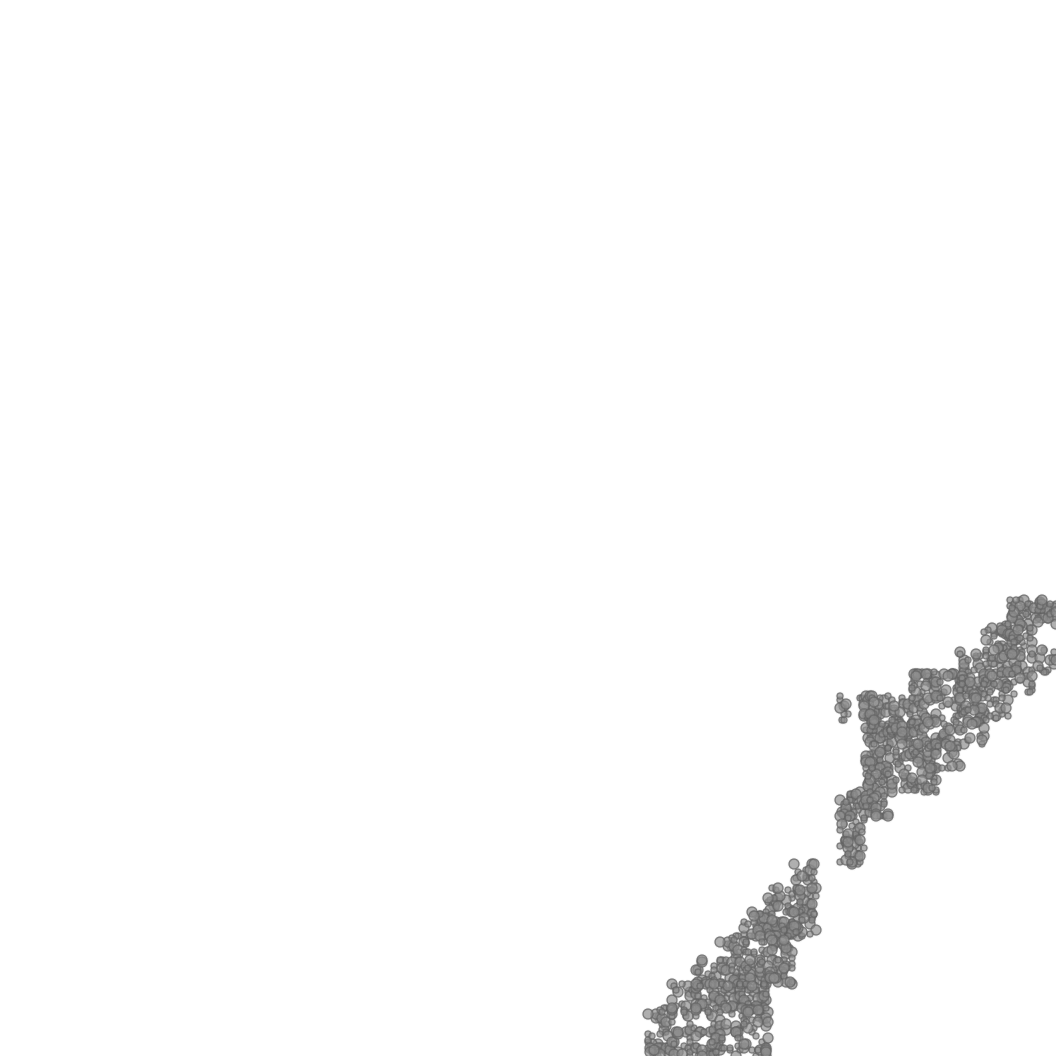
-
- Rocks
- are simply a collection of boulders which are placed randomly on the canvas. Please keep in mind that they are able to exceed their cell boundaries. They can be piled at the foot of a mountain, or used to simulate gaps in the walls since they are located higher than the walls.

-
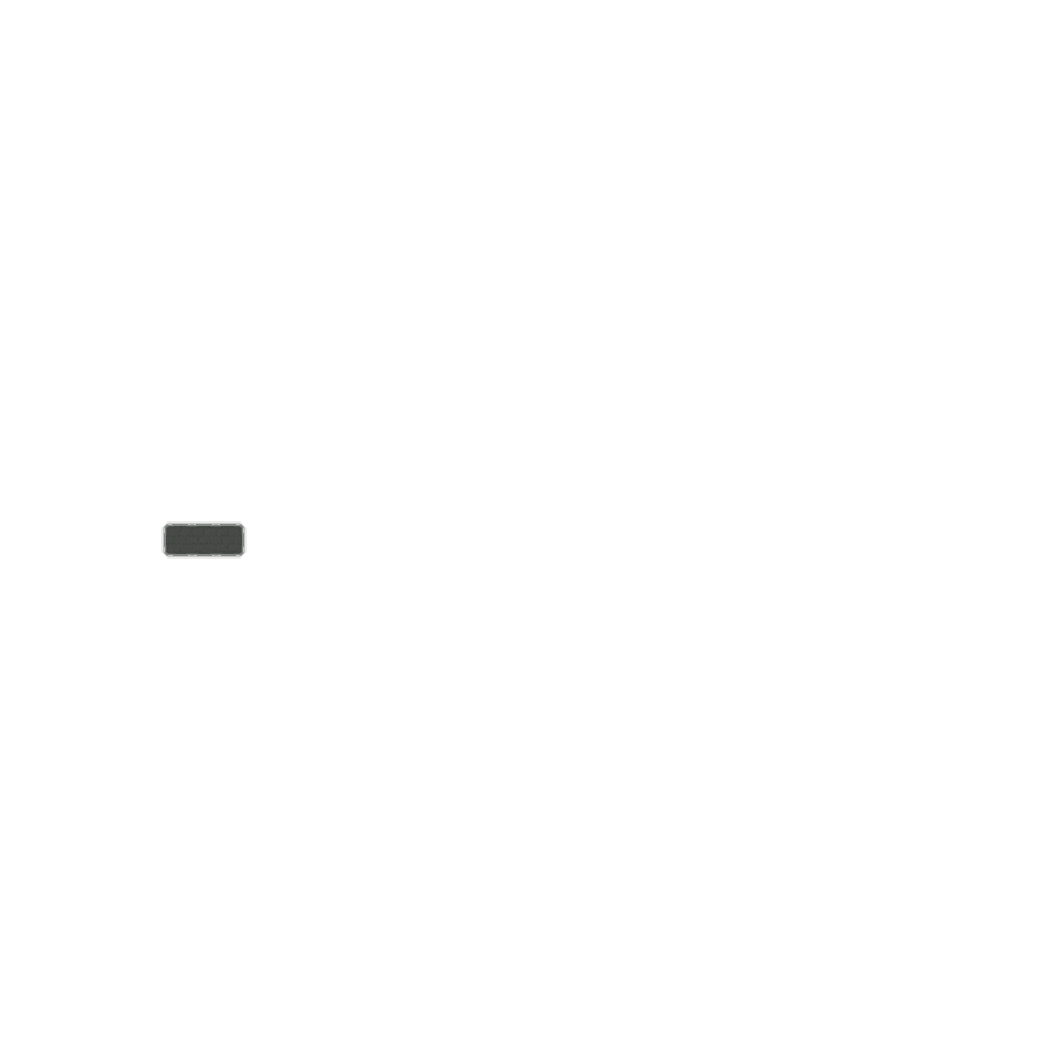
- Dirt
- is a small set of semi-transparent rectangles that are arranged in a random order and can exceed their cell boundaries. They are very useful for imitating paths, irregularities or simply debris on the floor.

-
- Flowers
- are simply a collection of circles of a specific colour, they are confined to a cell and are ideal for imitating lawns with small dandelions or something similar; combining them with mud can yield interesting results.

-
- Berry
- small shrubs, randomly generated, contain foliage and berries in the centre, can be viewed as large flowers. Shrubs constantly exceed the borders of the cell, please don`t forget about that.

-
- Grass
- is just a kind of noise that is randomly generated and fitted into a cell, nothing special, just circles one pixel in diameter.

-
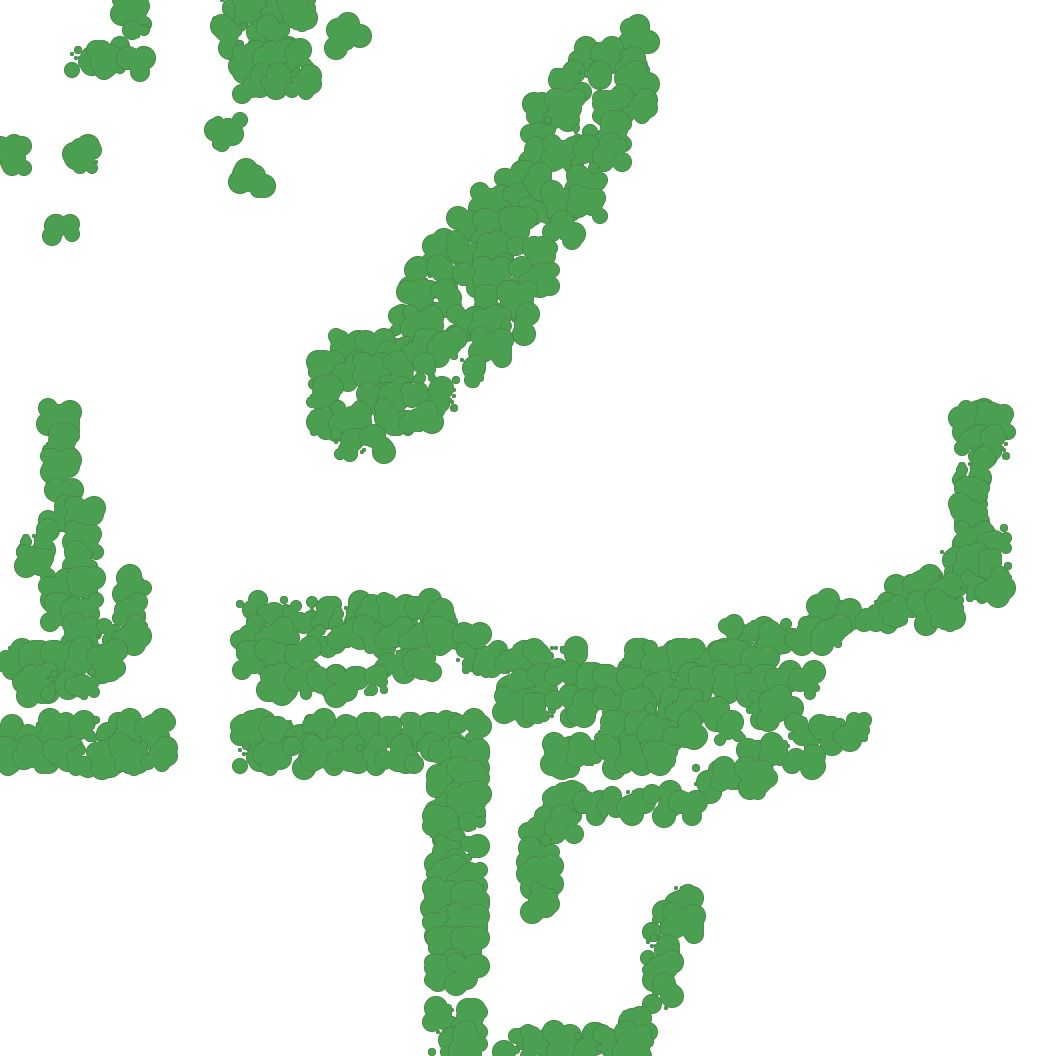
- Tree
- these are only represented by the leafy part; trees are one of the tallest objects, so please be aware of this when placing trees next to buildings. Tree crowns are generated randomly each time.
-
- Door
- this object is designed to be used with a wall or fence. Remember that walls and doors occupy the same place on the map, so walls remove doors and vice versa. Doors have 7 variations, divided into 3 types: flat, volumetric and the secret door.
-
- Flat doors
- are represented by doors of 2 types. These doors are well suited for constructing gates in fences, and since they are flat, they don`t create shadow artifacts.
-
- Volumetric doors
- join the walls with pixel-to-pixel accuracy and if there is a gap between the door and the wall, even a small one, it means that the door is misaligned and you have to rotate it with the hotkey "R". There are four door variations in this category.
All doors only connect when correctly oriented in the longitudinal or vertical plane and within the same variation. Different variations do not connect to each other. Keep an eye on the door rotation and all will be well.
-
- Windows
- there are two categories of window variations: external windows and overlaid windows.
-
- External windows
- there are 3 variations, these variations connect only if correctly oriented and only in a single line, such windows should be installed on the walls on the outer side or inside — this is for you decide. With these windows you can imitate shutters or simply show that the building has windows — not exposing the inside part.
-
- Overlaid windows
- these 3 variations work in a similar way to doors except they don`t remove the walls but are superimposed on them, so only two directions are used for combining, whereas 4 directions are used for external windows. When we put the windows onto the wall, we meant that the window has to span the entire thickness of the wall, so that the light channel is visible.
The windows have only 6 variations, but they all are unique in their own way and you will need some practice to learn how to use them. Remember to rotate the windows with the "R" hotkey and you will be fine. The colour schemes have no effect on how the windows are connected.
-
- Crates
- are a set of randomly placed objects, which can be a barrel or box, and there are two types: flat and volumetric. This results in 6 variations: flat crates, flat barrels, flat crates with a barrel, and all the same only in the volumetric version.
-
- Furniture
- is the last item on our list. Furniture comes in two shapes: square and rounded square. There are also three different heights: flat, low and high. All this allows you to create 6 variations. Overall, you can use this object to make silouettes of beds, tables, chairs, bedside tables and other interior objects.
Conclusion
This concludes the description of the RPG map editor. Now you have a good idea of all the utilities that are part of it, but that`s not all, of course. We also recommend checking out our tutorials on the hexagonal map editor or the RPG icon editor, which allow you to create icons for your maps or anything else you like. Don`t forget the colour scheme editor for RPG mapping objects or the texture generation system. We have more tutorials for you, but in the meantime, create and share your achievements with us and your friends!